Chain link gate installation instructions

Chain Link Swing Gates
Objective: By mastering this lesson, you will be able to successfully measure for and install chain link gates.
Equipment: Socket set, hammer, come-a-longs, level and pliers.
Key Questions:
- How do I measure for gates?
- When will I need a sloped gate?
- How do I measure for a sloped gate?
- How do I install a single swing gate?
- How do I install a double drive gate?
- What are the most common safety obstacles to be aware of when installing gates?
How do I measure for gates?
With all gates, make sure that you get more than one measurement. Following a level plane, you will want to measure both at the top and bottom of the gate. Do not allow your tape to slope or angle from level while measuring. Keep your dimensions accurate to + 1/8”. You will often times find these dimensions are different. Generally, the smaller dimension is used in building the gate. Communicate this information clearly on your as-built shortly after setting the posts.
Swing gates. Measure from inside to inside of gate posts.
Double drive gates Measure from inside to inside of gate posts.
When will I need a sloped gate?
If the slope or grade between the opening is so significant that a standard level gate will allow too large of an opening between the low side of the grade and the bottom rail of the gate, you may need to provide a slope gate. A slope gate is built so that the bottom and top rails of the gate follow the slope of the grade between the opening. A sloped gate will have to be hung on the low side of the opening to avoid bottoming-out the gate as it opens. Sloped gates must be single swings. A double drive sloped gate will not work in consideration that the leaf installed at the top of the slope will bottom-out as you open the gate. However, verify your grade prior to making this determination as there is one scenario where a sloped double drive gate will work. If the grade also slopes down perpendicularly to the opening or drops from the gate posts to where the nose of the gate will rest when in the full open position, you may be able to use a double drive slope gate.
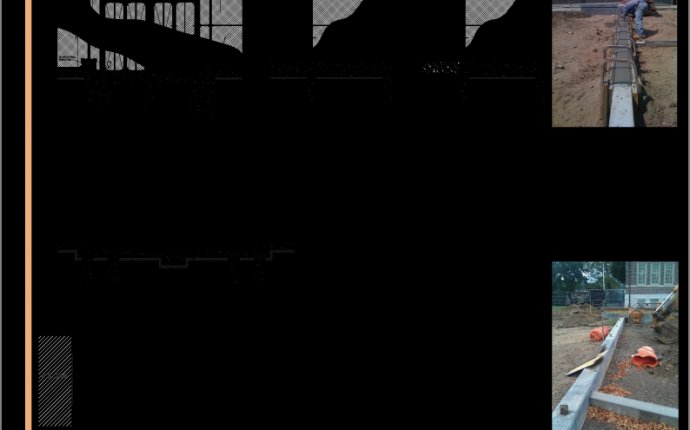
How do I measure for a slope gate?
Place a rail, 2x4, or straight edge at the bottom of the high side gate post level across the opening (B). With a level on your straight edge to assure it is level, measure from the bottom of your straight edge to the top of the footing at the bottom side gate post (A). Measure level from inside to inside of the opening (B). Measure along the grade from inside to inside of the of the opening (C) as this dimension can be plotted on the CAD to verify.
How do I install a single swing gate?
Start with reviewing your plans or proposal; the hinge side of the gate should be illustrated. If not, contact your salesman to verify what side of the opening the gate will hinge. After determining what side of the opening the gate will hinge; carefully review that you are not hanging the gate on the wrong side of the opening. If there is a not only a slope from one side of the opening to the other but a slope perpendicular to the opening; you may discover that the gate will not fully open or close. If this is the case, discuss with the salesman hinging the gate from the other side.
Once you are ready to hang the gate, follow these steps.
- If using a bull dog or strap hinge, install the bottom hinge as low to the ground as possible. Do not tighten. Further adjustments may be necessary. Install the post portion of the top hinge approximately one foot from the top of the gate. Stand the stub at the bottom of the gate into the bottom hinge. Lean the gate back tight against the post portion of the top hinge and install the strap around the gate frame to the hinge. Make sure that none of the hinges are supporting the gate off of a tension band. Over time, the hinge will wear through the band. Align the top of the gate with the top of the top rail. Adjust your hinges and tighten. Install your drop fork. The drop fork should work freely without encountering the in-ground sleeve as it rises and falls. Once completely shut /down, there should be about a ½” clearance from the back of the drop fork to the post.
- If using a male / female pintel hinge, install the bottom male pintel hinge approximately one foot from the bottom of the gate with the pintel up. Install the top male pintel hinge approximately one foot down from the top of the gate with pintel down. This will assure that no one can lift the gate off the hinges. Install the female hinge so that it fits snug over the pintel.
How do I install a double drive gate?
Simply repeat the steps for installing a single swing gate with some additional considerations. Unfortunately, in most instances you can not use a sloped gate at a double drive gate. Be careful of the amount of slope through the opening. Too much slope will result in large gaps at the bottom of the gate. A double drive gate will require a drop rod assembly. Review your plans and specifications to determine type and installation.
A standard double drive gate drop rod assembly locks the two leafs together and in place. To install:
- Slide the guides onto the drop rod. Two on bottom below the fork. One on top above the fork.
- Locate the bottom drop rod as close to the bottom of the gate as possible.
- Locate the top drop rod assembly so that it remains approximately 6” below the drop rod while it is extended into the ground socket.
- Slide the third drop assembly onto the gate frame but do not tighten.
- Install the ground socket at least one foot into the ground. If not into concrete or asphalt slab, set into 30” footing. Before you place the socket (2.5” x 12” pipe), bring the gates to a full closed position, slide down the drop rod so that it leaves an impression in the surface. Using the impression as a guide, install the socket.
- Slide the drop rod into the socket. With the drop rod fully extended into the socket, locate the third guide so that the tab on the rod is fully slid through the third guide to allow for a padlock. Tighten the guide.
What are the most common safety obstacles to be aware of when installing gates?
Lifting. Gates are always heavy, large and awkward. Be sure to use good lifting techniques, plenty of manpower or equipment. Being awkward, it is easy to strain or twist your back.
Fall Hazard. Gates have proven to be a real fall hazard. Often times, we lean a gate up against an opening while installing the hinges, a light breeze or bump and the gate will come crashing down on the installer below. Always use a bungee cord, chain, rope to tie the gate up against the fence. When installing a cantilever gate, use a bungee cord. This will allow you to move the gate in and away from the rollers without having to remove the cord.
Cuts. Gates have moving parts. It is easy to catch your finger in a cantilever roller while adjusting the roller.
Motorized Hazards. Motorized gates have enormous potential to create harm. These gates have caught the public eye with a sharp rise in injuries over the years. Consequently, there is a UL 325 Code that governs motorized gate installation. While installing these gates, it is easy to get pinched in a roller, between a picket and post or in the opening. More on this later.


