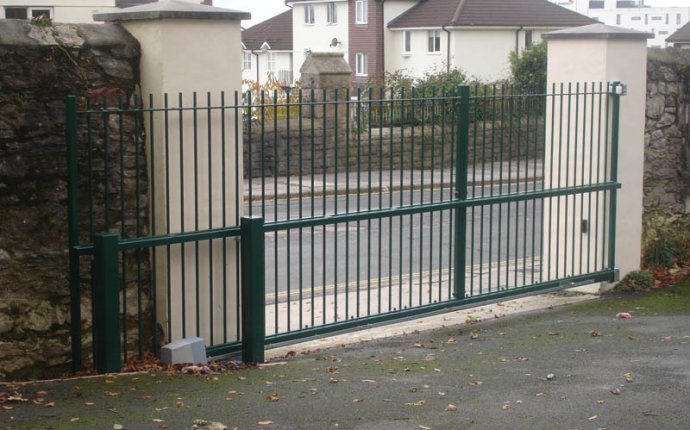
Electric sliding gate installation
Electric sliding gates are amongst the modern line of products that make your home more secure and your life more convenient. Sliding gates are powered by electric motors that move the gates on a track. An automatic gate of this sort cannot function without properly installed tracks, as it would jam up consistently adding to the maintenance charges. To learn more about correctly installing an electric gate track, follow the article below.
Step 1 – Take Appropriate Precautions
We recommend that you carefully read the instructions manual before using any of the power tools required for this project. The use of thick rubber gloves and a facemask are also recommended to offer protection against the power tools and flying dust respectively. When working on the steel track make sure that you work on a stable workbench placed in a well-lit area so that you have maximum control over your work. After going through these precautions move on to the next step.
Step 2 – Prepping the Steel Track Before Installation
Using a measuring tape and black marker, mark the positions for the drilling holes every 16 inches and use a steel drill bit of a size that corresponds to size of the bolts that you will be using in another step. With the drill firmly in hand, press down on the steel vertically to ensure that straight holes are drilled. After you have completed the drilling process, apply a coat of primer underneath the steel track to avoid rust build up. With this done, move on the next step.
Step 3 – Prepping the Concrete For Drilling
Align the steel track on the concrete floor so that the wheels underneath the gate properly align with the steel track and use a permanent marker to mark positions for the bolts. After you have marked all the positions, put the steel track aside and move on to the next step.
Step 4 – Drilling into the Concrete
Using a concrete bit drill of a size 3/8 inches more than the sum of the length of the anchor and the steel track, drill in holes at the positions marked in the previous step. Blow some air on the holes regularly to blow off dust and attach a piece of tape to the bit drill to ensure that holes of appropriate length were drilled. After the drilling has been completed, move on to the next step of attaching the track to the concrete.
Step 5 – Attaching the Track to the Concrete
Hammer in concrete anchors into the holes drilled earlier and align the steel track on top of them. These anchors need to be of a high quality because they need to be strong enough to withstand the constant wear and tear by car tires. Use a socket wrench to install bolts that will hold the steel track in place. After installation, move the gate on top of the tracks to better judge your work.


