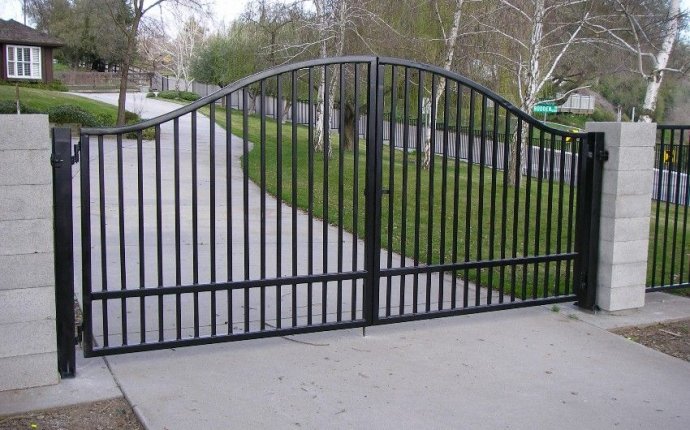
gate spring installation
 Untrimmed vegetation can affect the operation of a gate spring.
A lawn gate left open defeats the purpose of trying to keep pets and children within a fenced area. It’s also unsightly. If someone in your family has trouble remembering to close the gate, it’s a simple matter to install gate springs. You can install a gate closer when you install the gate or post-installation, when you decide you need it.
Style Considerations
Some gate springs are little more than heavy-duty springs that connect the gate to the gatepost. Others come enclosed in metal tubes that help prevent pinched fingers. The construction of the gate helps to determine the best style for you to select. Gate springs need an upright surface on the hinge side of the gate that is wide enough to attach the springs. If the gate opens onto an enclosed swimming pool area, it needs to have tight enough springs to close the gate automatically. Gates in pool areas must also have automatic latches in order to bring the gate into alignment with building codes. In this case, the function of the gate is not to keep people in the pool area, but to block unsupervised children from entering.
Wood Gate Installation
Gates open either to the right or to the left, and this determines how you orient the gate closer. To determine what your gate is, stand on the hinged side of the gate. If the hinge is on the right, the gate is right handed. Locate the top of the spring, either from the directions or a stamped label on the spring. A right-handed gate has the top of the spring attach to the gate frame and the bottom to the gatepost. For a left-handed hinge, install the spring with the bottom on the gate and the top on the gatepost. Hold the properly oriented gate spring near the top of the gate as you mark the location of the mounting holes of the spring onto the gate and post. Drilling pilot holes helps prevent splitting the wood in the gate. The gate spring usually comes with enough screws to mount the spring onto the gate.
Metal Gate Installation
Installing the gate springs on a metal gate is similar to installing it on a wooden one with the exception of the screws you use. Instead of using the wood screws that come with the gate springs, attach the springs with self-tapping metal screws. These screws have sharp edges that penetrate the surface of a metal gate to hold the springs firmly in position.
Final Adjustments
In most cases, you install gate springs without tension. Once they are in place, you need to locate the tension device. Typically, it is in the top of the springs. Insert the tension rod that came with the assembly kit and turn it clockwise to tighten the springs. Place a peg from the assembly kit into one of the holes near the mounting bracket and remove the tension rod. Open and close the gate. If the gate needs more tension, repeat the process. If the spring is too tight, insert the rod, remove the peg and turn the rod counterclockwise a partial turn, before resetting the peg.


